halesec
Cloud. Security. Dogs.
Not necessarily in that order.
PGP: 0xC0EE29073A219F19
Building your own DNS proxy, part 1: The basics
by James Hale
Over the past year, I have explored various DNS “smart” proxy services to use in a couple of my environments. The experience with some of these paid services, like Unblock.us and Unlocator, left a lot to be desired, so I decided to set out and build my own.
The paid services worked OK, when they did work. They did not, however, operate at a “set it and forget it” level of stability. At least, not enough for my liking.
When I’m working on a personal project, I strive to be bothered as little as possible, once it’s complete. So, if I have to keep mucking with configurations or white listing IPs, on an ongoing basis, then I’m going to seriously start looking for a different way to do things.
Like I said, these worked well enough, most of the time, so I wasn’t inspired enough to investigate alternatives yet.
I then started to research how these smart proxies actually worked. When you look at their sites, they really only advertise “DNS” services, but that didn’t sound right. I didn’t see how redirecting my DNS queries would fool some services into thinking that my network requests were coming from a different location.
As it would turn out, these proxies have you forward all of your DNS queries to them, they take select DNS zones (like those of service “X”, for which you want to get around the geo-blocking.) and return altered DNS results to you, which points you at their proxy, instead of the service directly. This causes you to transit and egress their network infrastructure, which may be in a more “favorable” geographic location than you are, as far as the service is concerned. Basically, it’s a DNS MITM with a sprinkling of traffic proxying.
The idea of paying for a service to which you send some of your Internet traffic and ALL of your DNS lookups is a huge security risk and didn’t sit too well with me. That, coupled with the fact that if you want to use it for more than one source IP (I use this in a few different environments), you would need pay for multiple accounts.
Once I understood how these services worked, I realized that a DIY solution wasn’t hard to implement, especially in the era of cloud computing and VPS, where you can really put these network egress points anywhere in the world. This also allows you to tailor it to your situation. Trying to access a service in the US? Put an instance in Ashburn or New York. The UK? Put it in London. You can even get granular and put instances in AWS or DigitalOcean data centers in different parts of the US to get around regional blocking.
Of course, the real cost here isn’t the compute, as these types of proxies don’t really do much, but rather the network transit. If you’re only proxying one or two heavy hitters, in terms of bandwidth utilization, then this shouldn’t be a huge issue.
Step one: Get set up.
You’ll need to pick out a cloud or VPS provider to host the proxy on. Since I was running an instance on DigitalOcean to host a couple of websites at the time, I already had an account set up, so I’m built this out there. However, this can be easily adapted to use any IaaS provider.
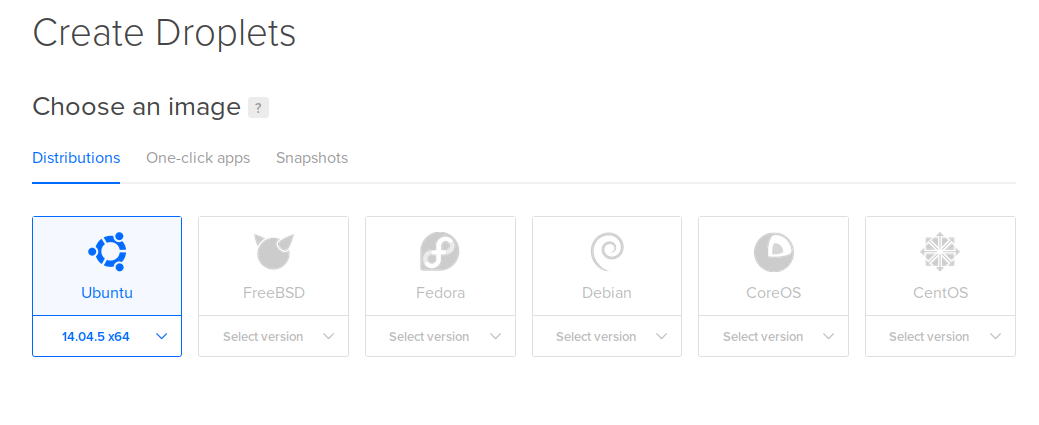
I created an instance (a “droplet”, in DO’s parlance), using their Ubuntu 14.04 LTS image. I gave it my SSH key to use and assigned to it a floating IP address (Elastic IP, for the AWS users). The reason for the floating IP is that I want to be able to change out the instance, without having to go back and update DNS settings on multiple endpoints (computers, routers, etc). Just re-associate.
Ubuntu 14.04 LTS works fine here
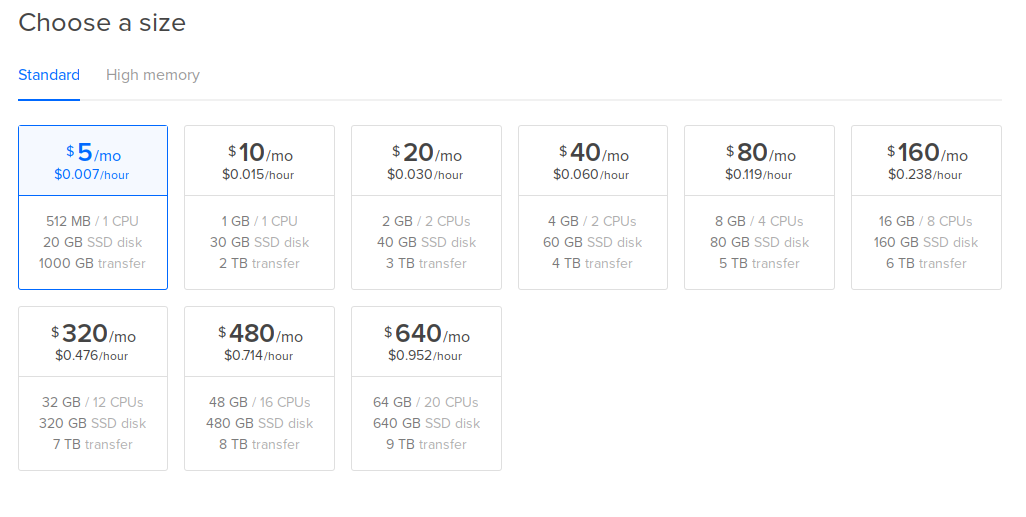
Choose the smallest size you need, based on the amount of network transit.
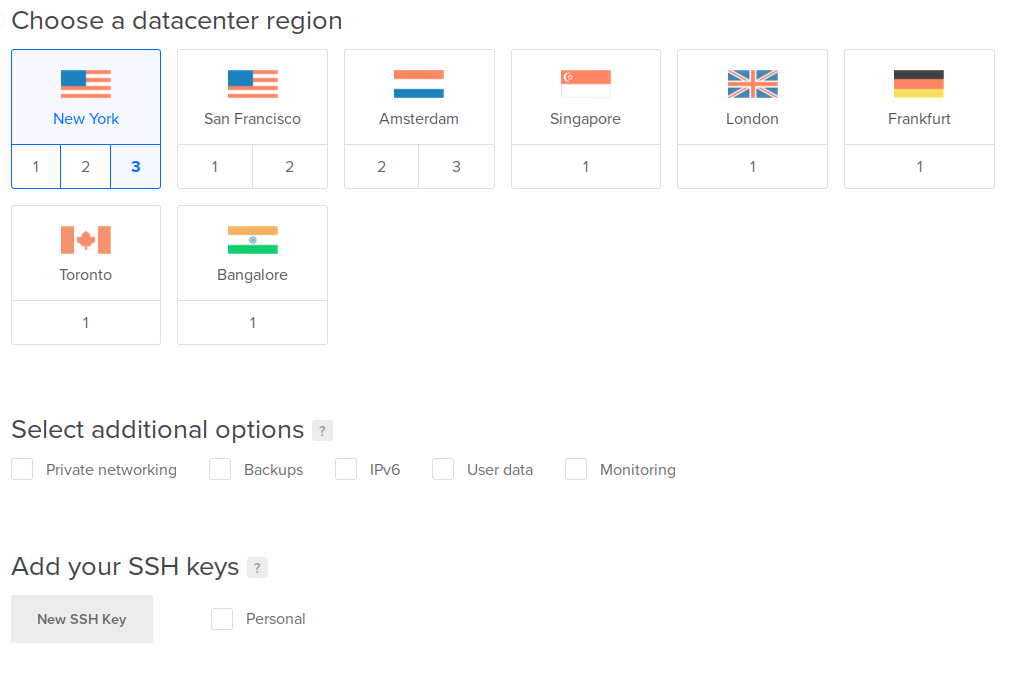
Pick where you want to “appear” to be coming from.
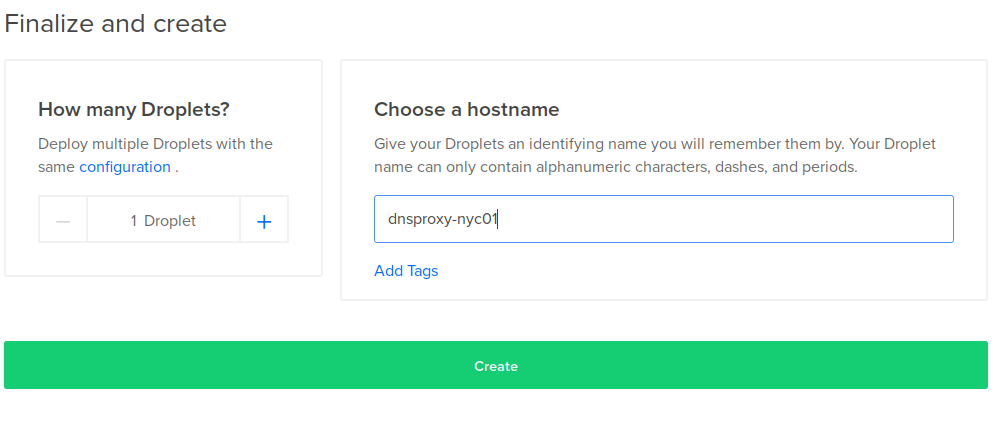
Name it something sensible and fire away!
Once the instance came up, I installed bind9, to serve DNS requests, sniproxy, for the actual passing of traffic, and their dependencies.
sudo add-apt-repository -y ppa:dlundquist/sniproxy
apt-get -y update
apt-get install -y sniproxy bind9
Note: At the time of this writing, sniproxy didn’t have a package for Ubuntu 16.04. So, unless we choose to build it from source instead, we’ll have to pin our instance to 14.04 for now.
Step two: Proxy that traffic
Sniproxy proxies traffic based on the host set in the TCP connection, so it can forward HTTPS traffic without the need to decrypt it. This is fine, since we really don’t care what’s inside the packets, we just need to move them along. Sniproxy is pretty configurable, but we can keep it simple for this purpose. Basically, if we’re sending traffic to the instance, it’s meant to be there, so sniproxy should just accept it and pass it along to the destination, no questions asked. Yes, this is open to abuse, but we’ll address that below.
/etc/sniproxy.conf:
user daemon
pidfile /var/run/sniproxy.pid

error_log {
    filename /var/log/sniproxy/sniproxy.log
    priority notice
}

listen 80 {
    proto http
    table http_hosts
    access_log {
        filename /var/log/sniproxy/http_access.log
        priority notice
    }
}

listen 443 {
    proto tls
    table https_hosts
    access_log {
        filename /var/log/sniproxy/https_access.log
        priority notice
    }
}

table http_hosts {
    .* *
}

table https_hosts {
    .* *
}

table {
   .* *
}
Step three: Intercept your own DNS
Now we need to set up something to listen for DNS queries and forward them to our proxy. Bind has been around forever and is battle-tested. Configuring it is a little bit trickier than sniproxy, but not overly complex. Remember, you’re going to be setting your home router (or computer) to use this instance as it’s sole DNS server, so it’s going to be getting all of the lookups you do. However, only a small percentage of those lookups will need to be altered to go to the proxy instead. The rest will just return the normal lookup values, as if you were querying any other DNS server. You might want to take this opportunity to duplicate this set-up to a second instance/floating-ip pair to have as a backup. If this one goes down, then your internet connection is going to come to a screeching halt. You will need to configure an override zone, which returns the IP of the proxy for all A records, and then specify which zones will use that override config. /etc/bind/named.conf:
include "/etc/bind/named.conf.options";
include "/etc/bind/named.conf.local";
include "/etc/bind/named.conf.default-zones";
/etc/bind/named.conf.local:
acl "trusted" {
    any;
};
include "/etc/bind/zones.override";
/etc/bind/named.recursion.conf:
allow-recursion { trusted; };
recursion yes;
additional-from-auth yes;
additional-from-cache yes;
/etc/bind/named.conf.options:
options {
        directory "/var/cache/bind";

        forwarders {
            2001:4860:4860::8888;
            2001:4860:4860::8844;
            8.8.8.8;
            8.8.4.4;
        };

        dnssec-validation auto;

        auth-nxdomain no;    # conform to RFC1035
        listen-on-v6 { any; };

        allow-query { trusted; };
        allow-transfer { none; };

        include "/etc/bind/named.recursion.conf";
};
/etc/bind/db.override:
\$TTL  86400

@   IN  SOA ns1 root (
            2016061801  ; serial
            604800      ; refresh 1w
            86400       ; retry 1d
            2419200     ; expiry 4w
            86400       ; minimum TTL 1d
            )

    IN  NS  ns1

ns1 IN  A   127.0.0.1
@   IN  A   <<IP OF YOUR PROXY>>
*   IN  A   <<IP OF YOUR PROXY>>
/etc/bind/zones.override:
zone "mlb.tv." { type master; file "/etc/bind/db.override"; };
zone "mlb.com." { type master; file "/etc/bind/db.override"; };
zone "icanhazip.com." { type master; file "/etc/bind/db.override"; };
The last two files are the interesting ones. Note that the db.override file looks like a standard DNS zone file. This is what will be used to send queries back to your endpoint for the overridden domains. The last file, zones.override, does exactly that. Specifies the zones to override and uses db.override for them instead. Modify this to meet your needs.
Step four: Lock it all down
This would be a crappy security blog if I advocated for leaving services open for anyone to abuse. To make sure that doesn’t happen, we’ll need to restrict access to these services (and administration of the node itself) to a subset of IPs. DigitalOcean doesn’t provide a firewall at the IaaS layer, unlike AWS or GCE, so we’ll have to use something at the OS layer to fulfill our security needs. Iptables would be the obvious choice here, but since ufw comes installed on Ubuntu and is an interface for iptables, let’s go with that. ufw is set to deny-all, by default. Where as iptables will allow-all until told otherwise. So, you’ll want wait until your rules are in place before you enable it, lest you lock yourself out of your instance and have to start over. You’ll need to allow four ports for everything to work:
TCP/80 — Proxying non-HTTPS traffic.
TCP/443 — Proxying HTTPS traffic.
TCP/22 — SSH access for admin purposes.
UDP & TCP 53 — DNS access to bind
Note: DNS uses UDP by default, but can fall back to TCP if needed. So, you’ll want to allow both protocols, unless you know that you won’t need UDP (or don’t feel comfortable allowing UDP traffic). Allow your source IP for these four rules and enable ufw. Everything else will get black-holed.
ufw allow from ${YOUR_IP} proto tcp to any port 80
ufw allow from ${YOUR_IP} proto tcp to any port 443
ufw allow from ${YOUR_IP} proto tcp to any port 22
ufw allow from ${YOUR_IP} to any port 53
ufw enable
Step five: Turn it on and point traffic to it
Once you have all of your configs in place, you can start (or restart) the three services and make sure that they are set to start on boot, in case your instance needs to be restarted without your knowledge (welcome to the cloud). ufw is already running and will start on boot, so no further action is needed there.
update-rc.d bind9 defaults
update-rc.d sniproxy defaults

service bind9 restart
sniproxy
Once you’re set up. You should now be able to set the DNS server on your computer or router to use the instances’ floating IP, instead of your ISP’s DNS server. You can leave your ISP’s DNS IP as a secondary server, but unless you’re sure that your OS/router will always try the first listed IP first, then you might get some funky behavior when trying to access services that need proxying (i.e. it tries a non-proxying DNS server first). This is why it’s recommended to stand up two of these proxies and set them both in your OS/router.
That’s it! If you used my zone config above, then you can go to
Something to note. I’ve been hearing that some of the larger services, such as Netflix, are getting wise to this trick and are wholesale blocking IP ranges owned by popular cloud providers. I haven’t experienced it yet, but I don’t use this for Netflix. YMMV.
This is a largely manual process and is good for a POC, but any decent DevOps engineer or sysadmin would never use this for “production”. In my next post, I’ll go over how to automate deploying and replacing these proxies, using code and cloud-init. Then finally, we’ll tie it all together in Jenkins, using its DSL, written in Groovy.
tags: dns - proxy